Security Camera
This project uses the Raspberry Pi 3, OpenCV, and Python. The camera module is the Raspberry Pi Rev 1.3, the version of Python is 2.7, and the version of OpenCV is 3.1.0.
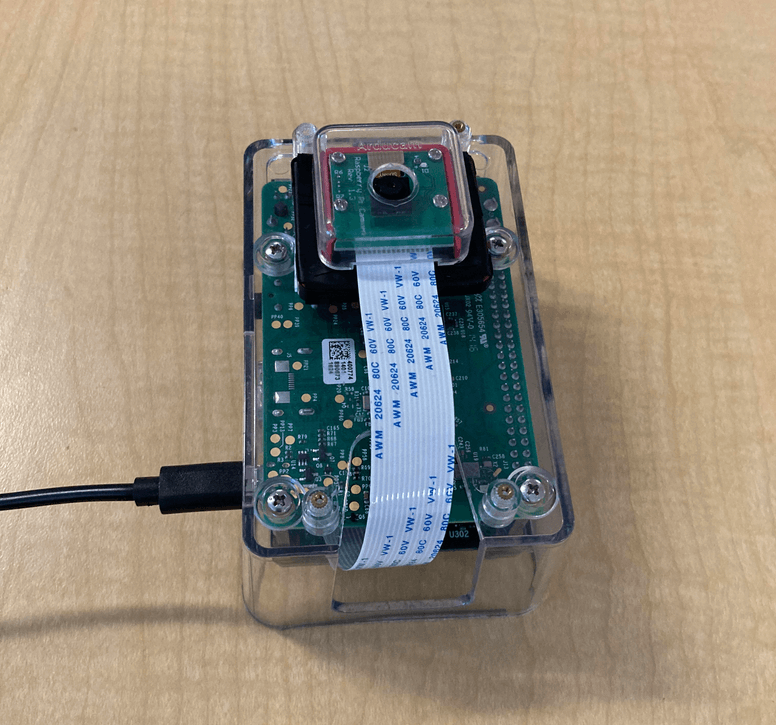
I originally planned to use a Raspberry Pi Zero W for this project, but its older hardware significantly slowed the process of downloading dependencies and writing code. I switched to a newer Raspberry Pi version, which can be seen in the picture. More details can be seen on my GitHub repository where I stored the camera code.
Below is a diagram for the project files. The camera sensor is first connected to the Raspberry Pi.
Next, different pieces of software from each file are utilized for security monitoring. OpenCV is used in
main.py and camera.py, and the email server is accessed in
mail.py. Both camera.py and
mail.py are integrated in main.py for the core camera functionality.

Whenever the user runs the camera, main.py is run within a Python 2.7 environment.
The check_for_objects() method, performs object detection in the captured scene, as its name implies.
When specific entities are detected, a separate method verifies whether an email notification was previously sent within a specified
time window to prevent redundant notifications. If an object was detected and no email was sent recently, the device emails a notification with
time and scene information using the sendEmail() method.
camera.py contains a class called VideoCamera that uses OpenCV to define a variety of methods for
object detection. One important method is get_frame(), as it returns a JPEG
image containing the camera's current frame in the form of bytes. Another key method is
get_object(), which returns the JPEG image data as a byte stream along with a boolean flag
indicating the presence of a detected object.
mail.py has a method named sendEmail() responsible for constructing
and sending emails to a specified user. This method is triggered upon object detection. Once called, the method builds the email by attaching
important components, including the captured image of the object and a title for the image. Subsequently, it authenticates into the server
with custom credentials and sends the message to the target address.